

施华蔻怡然染发剂冬天染
冬天来临,许多人开始为自己的形象做一些小改变,比如尝试新的发型或染发。在美容护肤行业中,施华蔻怡然染发剂成为了众多消费者的追捧对象。有关冬天染发的讨论却始终存在着疑问和争议。施华蔻怡然染发剂的冬天染发 ...
补水保湿乳液是美容护肤产品中的热门选择,无论是男性还是女性,都希望能够拥有水润紧致的肌肤。市面上各种品牌、各种价格的补水保湿乳液琳琅满目,让人不知道该如何选择。究竟“补水保湿乳液价格”到底是多少合适呢 ...
-
第一段:你是否曾经听说过“26种草本洗发水”?这个在美容护肤行业中备受瞩目的产品,究竟是什么呢?为什么会有这么多人选择它们来代替传统的洗发水呢?让我们来一探究竟!虽然目前市面上有各种各样的洗发水品牌, ...
23次浏览 -
你有没有想过,洗发水是油的,会不会让头发更油呢?为什么有些人用了惠润洗发水后,头发却变得更油了呢?这可能是很多人都有的疑问。惠润洗发水好油并不是我们通常理解的“油”,而是一种特殊的成分,它能够增加头发 ...
10次浏览 -

口碑最好的定妆喷雾夏天是美容护肤行业中备受关注的产品之一。它在夏天的炎热天气中有着独特的作用,能够为肌肤提供一层持久的保护和定妆效果。但问题来了,为什么口碑最好的定妆喷雾夏天会受到如此广泛的赞誉呢?这 ...
26次浏览 -
男士去油去屑止痒洗发水排行榜是美容护肤行业一个备受关注的话题。你是否曾经困惑于选择洗发水时应该如何挑选?让我们来了解一下男士去油去屑止痒洗发水排行榜的背景和相关的疑问。男士去油去屑止痒洗发水排行榜是根 ...
23次浏览 -
你是否正在寻找一款有效的洗面奶来改善你的肌肤状况?或许你在美容护肤行业中听说过娇韵诗吸盘洗面奶,但你真的了解它的真相吗?它到底是否真的适合你?让我们一起来揭开这个美容护肤界的疑问吧。娇韵诗吸盘洗面奶在 ...
18次浏览 -

你是否曾想过,为何许多人对于修复深层滋养发膜如此痴迷?为何很多美容护肤行业广告中都推崇此产品?我们有效地回答这些问题,不过我们需要了解\\\"修复深层滋养发膜\\\"到底是什么。修复深层滋养发膜是一种 ...
28次浏览


大牌子信得过
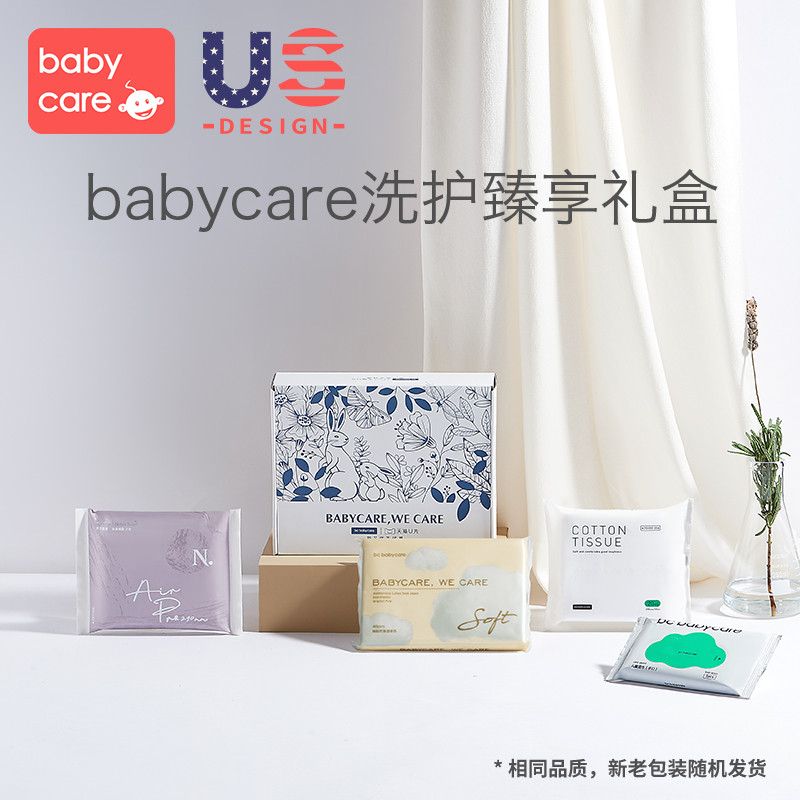
【821天猫U先】babycare角鲨烷干湿两用棉柔巾云柔巾洗护礼盒
整体评价:物美价廉 安全性:很舒适的使用感 材质手感:软绵亲肤
【821天猫U先】babycare角鲨烷湿巾云柔巾棉柔巾礼盒
非常用心的礼盒,很喜欢谢谢
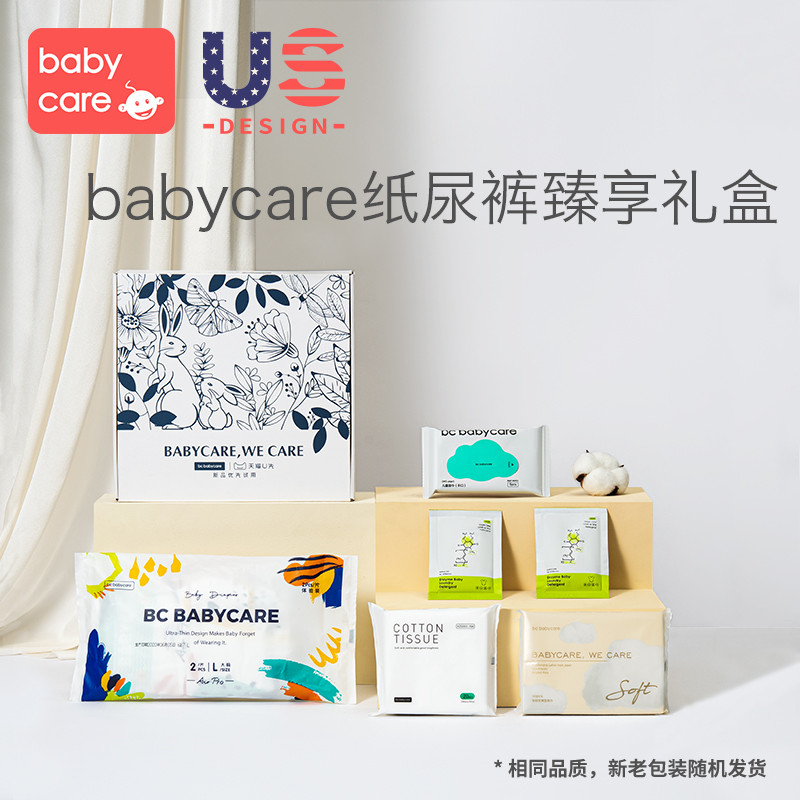
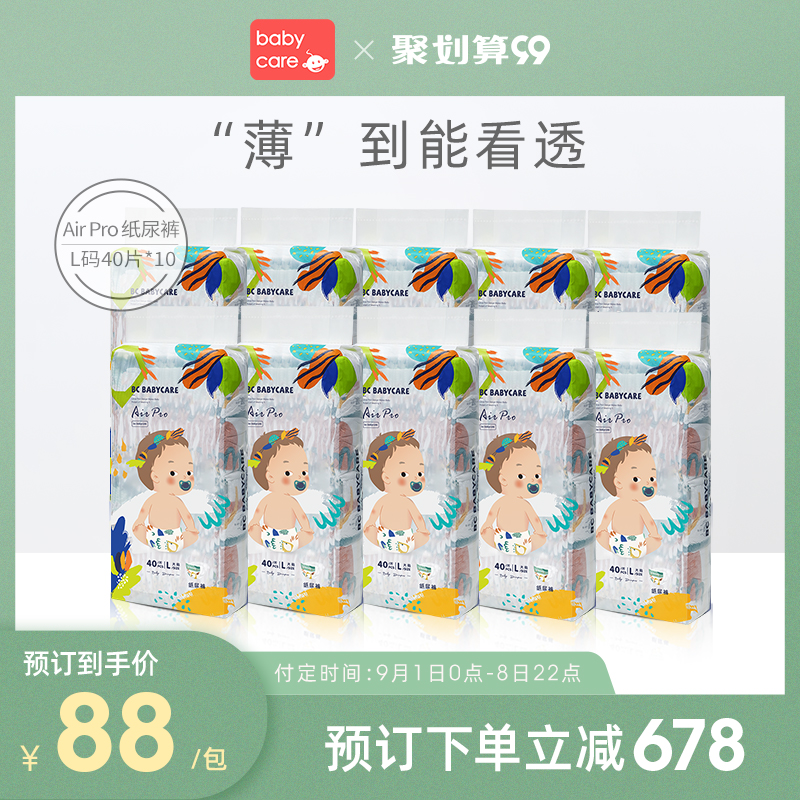
【821天猫U先】babycare air pro纸尿裤L码湿巾棉柔巾云柔巾礼盒
很喜欢这个牌子,质量很好,做工精细,物流很快。
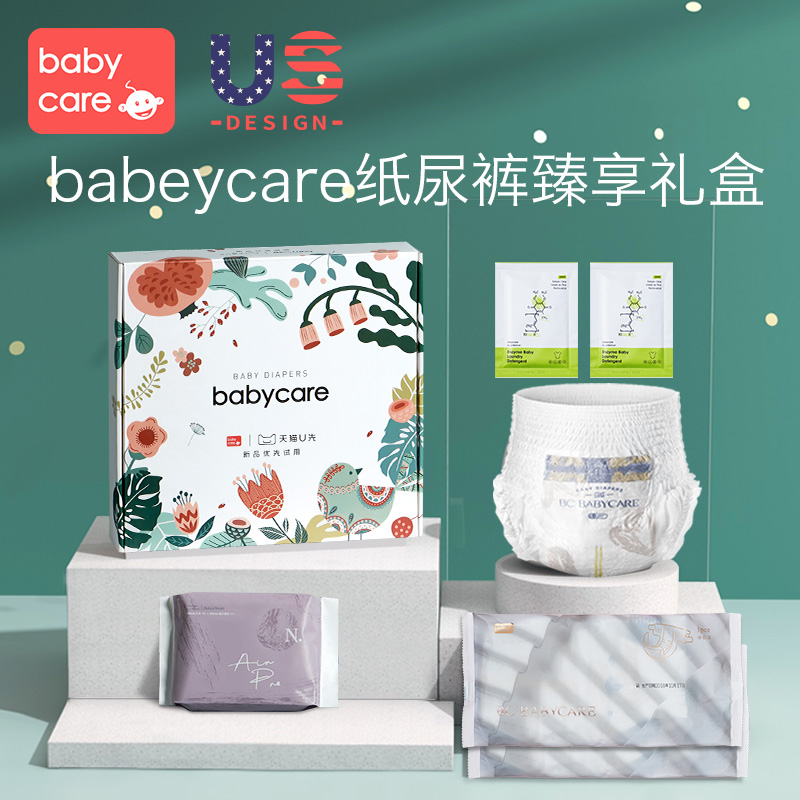
【821天猫U先】babycare酵素洗衣液4片卫生巾L码拉拉裤礼盒
挺好的买了几个试用 大牌子靠得住
【821天猫U先】babycare Air ProM码角鲨烷湿巾棉柔巾云柔巾礼盒